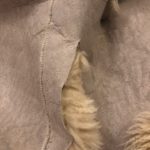
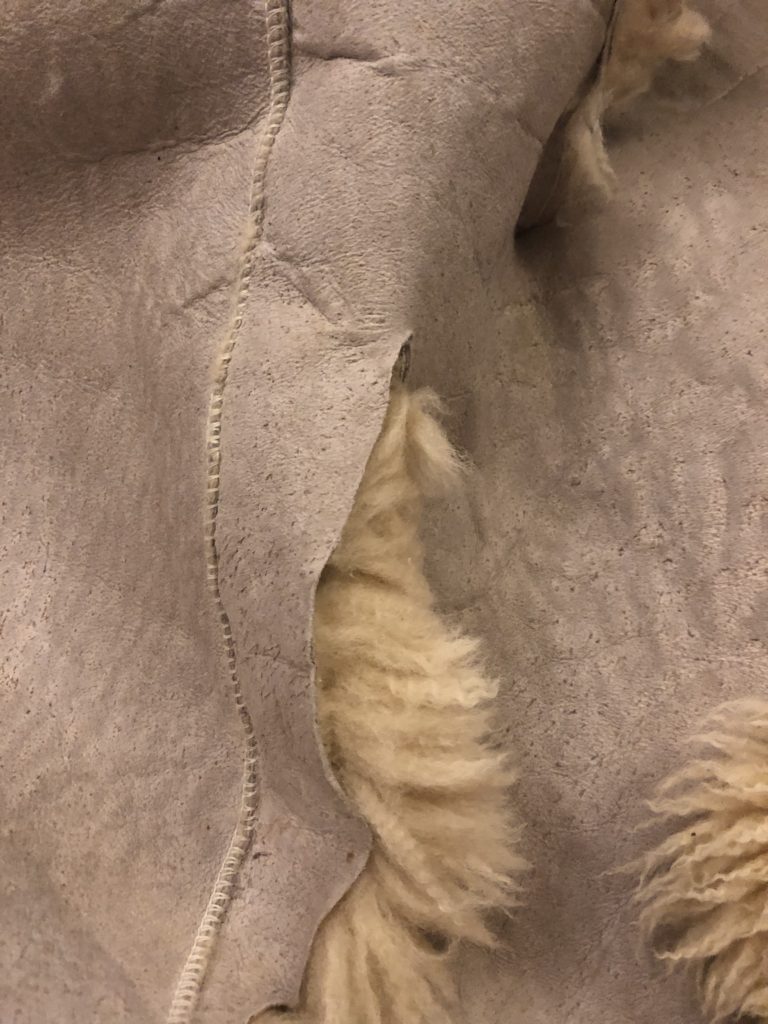
A friend texted a couple of weeks ago to ask if I could do anything to save his sheepskin rug. He bought it down at Camden Market ages ago, and it’s been wrapped up in a bin liner in their garage since they moved into their current home- at least 7 years. This particular rug is made of 4 hides stitched together and it has seen better days. One hide had come completely away and there were cracks and splits in the other three. Also, it was in desperate need of a good clean. He was going to toss it, but thought he’d ask if I could make it usable again.
The first step in cleaning a sheepskin is giving it a good brushing. It helps loosen ground-in dust and dislodge any loose hairs. You can buy special sheepskin-grooming brushes, but a regular old pet slicker brush works great for half the price.
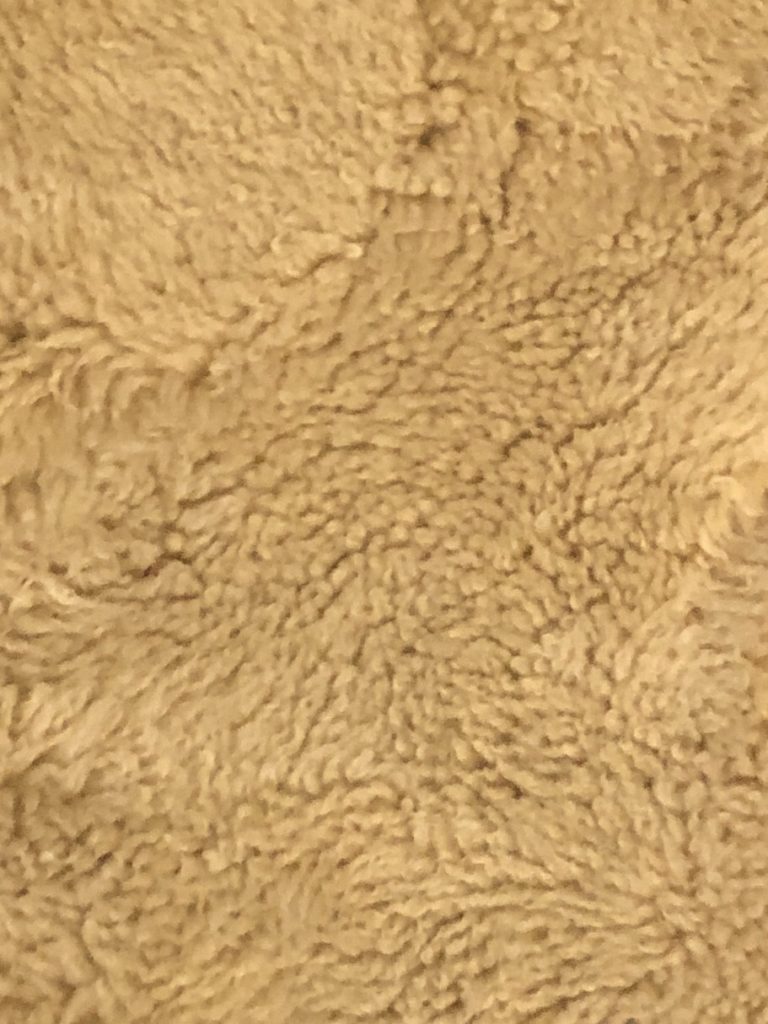
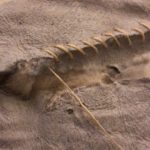
BEFORE BRUSHING 
AFTER BRUSHING
After a thorough brushing, I gave the hides a bath. It’s always a bit of a gamble to wash a sheepskin, unless it’s one of those special medical sheepskins. If you know a skin has been washed before, there’s a good chance it will survive another go. Despite not knowing its history, this rug was pretty dirty and I knew my repair was its last chance to save it from the tip, so I thought it was worth the risk and vowed to be gentle. Please note it is very important to use a special sheepskin shampoo as regular soap or detergents can strip both the oil from the wool and the moisture from the leather. My favorite is Eucalan in either the lavender or eucalyptus scent. I use it for my wooly knits, too.
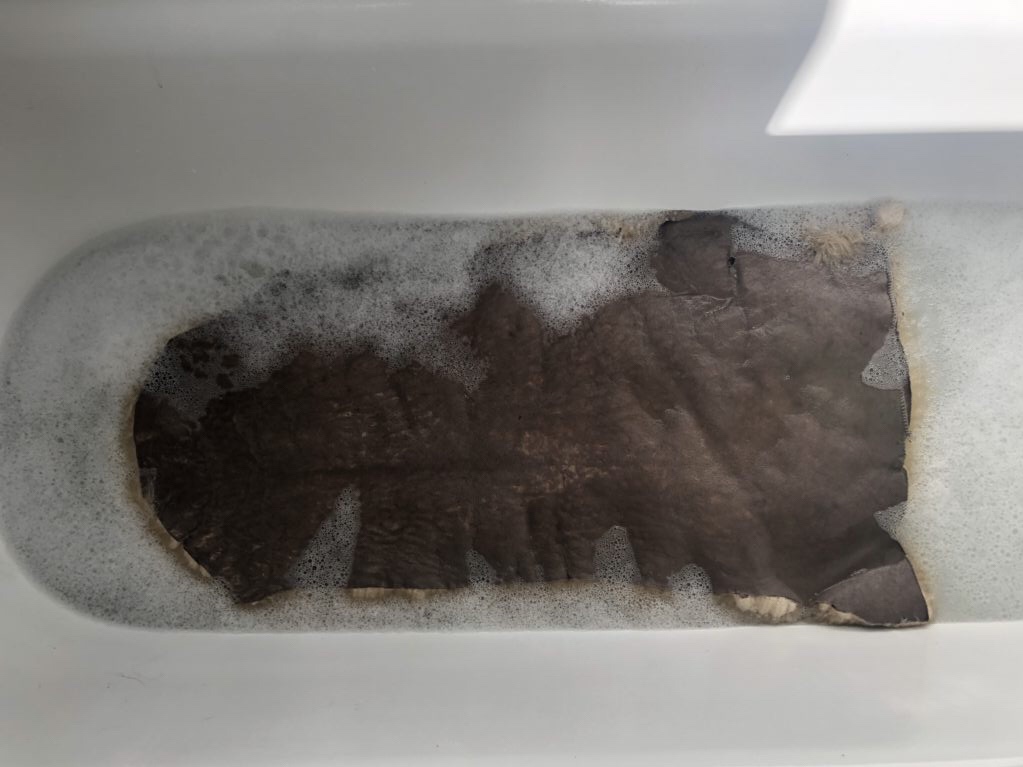
I soaked the rug pieces in a tepid bath for a couple of hours, swishing them gently from time to time. Then I pulled the plug to let the water drain away without touching the hides. Just like with human hair, animal fur and leather are at their most fragile when wet. When all the water had drained out, I gently rolled the hides, transferred them into a bucket, and then into our washing machine for a low-speed spin cycle.
I gently spread the spun-out skins flat to dry with the leather side facing up. It’s important to dry hides and leathers in a cool room with little air flow. Warm air will make the skins dry & brittle. These hides were dry around Day 6, but I left them alone for another few days just to be super-sure. Now they were finally ready for stitching!
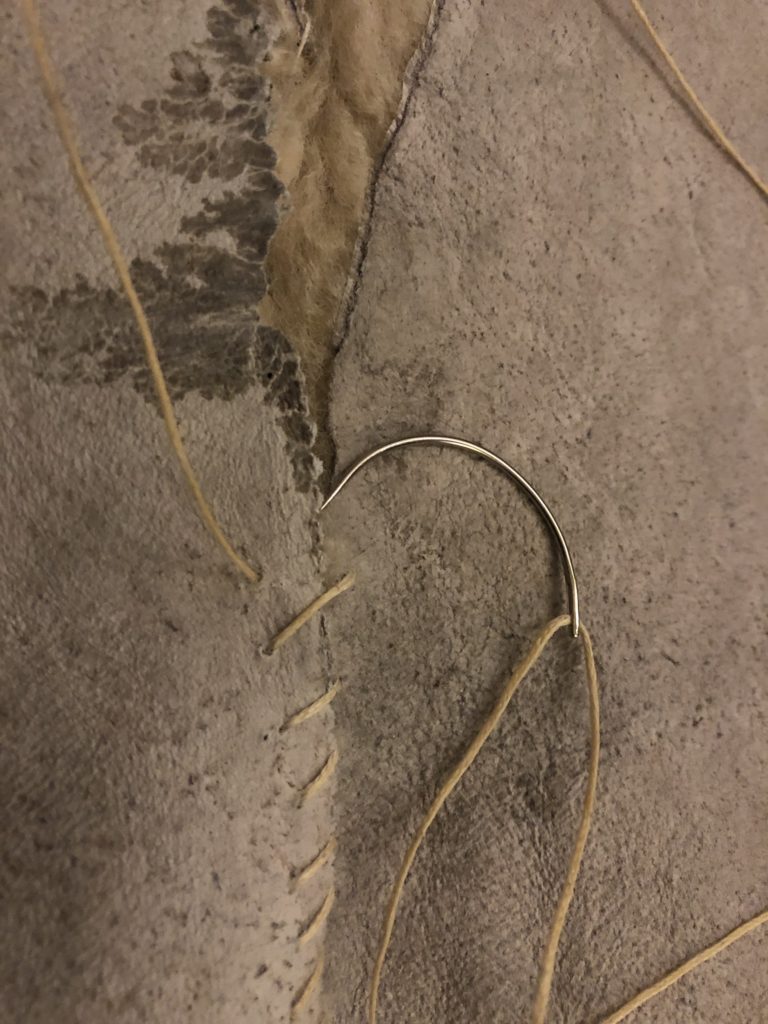
Using waxed polyester thread and a sharp curved needle, I did a simple whipstitch to bring the cracks and splits back together. I tucked things in and tightened every ten minutes or so to keep at an even tension. An awl works well for the pulling and poking and this is a great step to do in front of the tv. Luckily, our weather has recently turned so I didn’t mind having a very warm lap for the few hours this took. This is definitely not a project for the height of summer!
After I got everything stitched up, the finished rug got another brushing…..then a good vacuuming, and then another brushing to make it pretty.

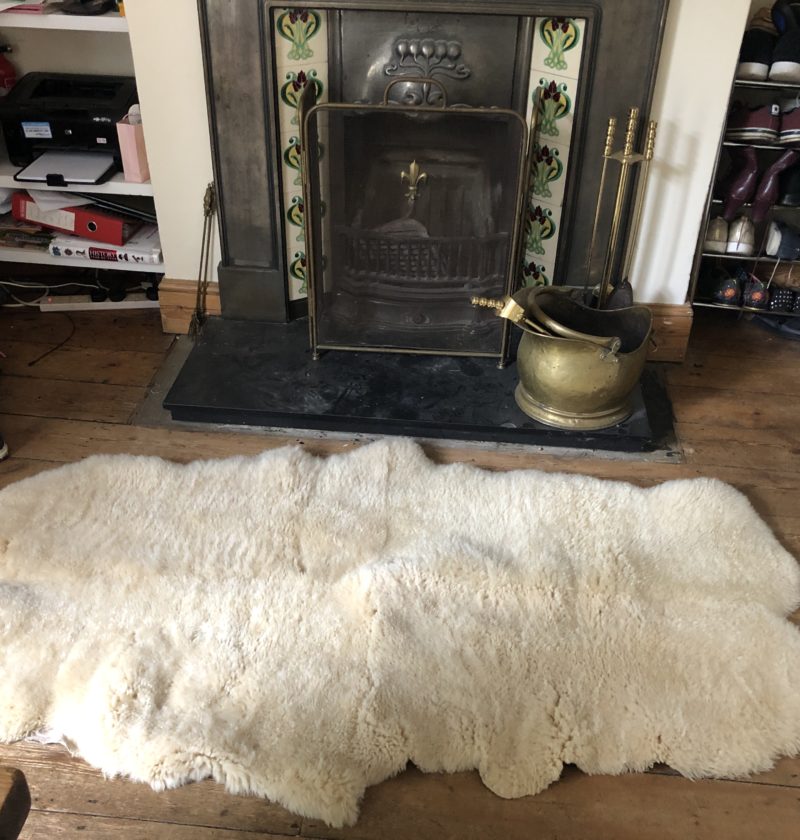
So happy to save this beautiful rug from the landfill. All it needed was a little love (and a good clean)
🙂

BEFORE BRUSHING AFTER BRUSHING 
Finished product 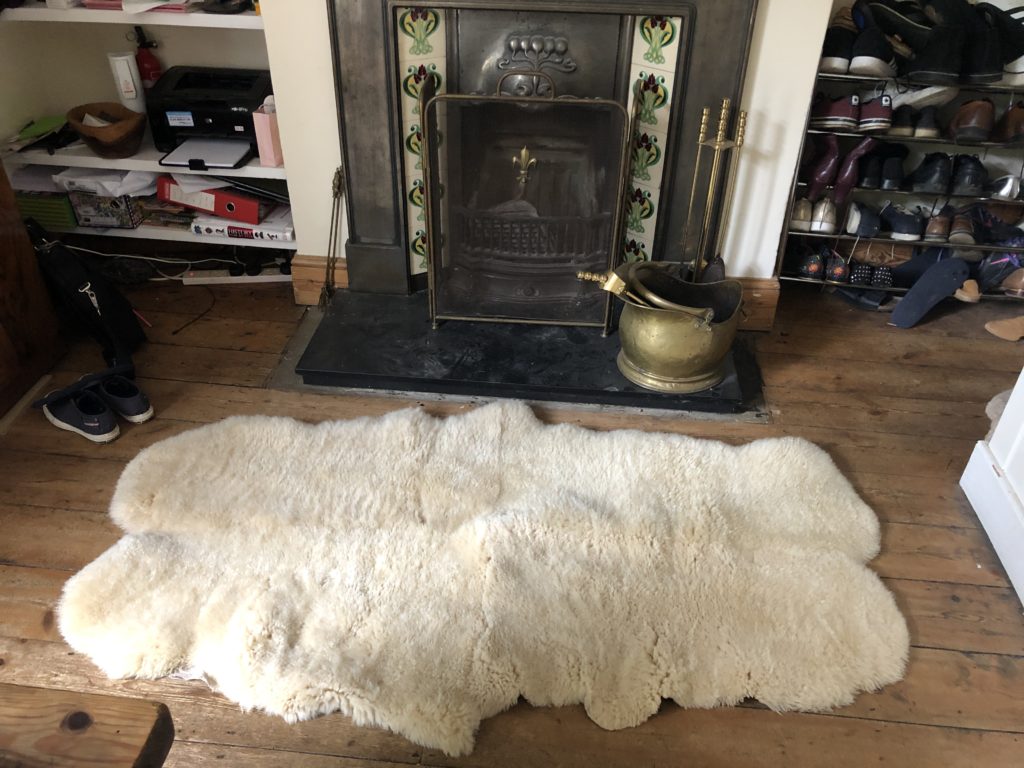
Finished product in situ